No, the service is designed to work from your files as supplied to us. You may use our monitor calibration information in the colour management section as a guide. Colour correction is available for an additional fee.
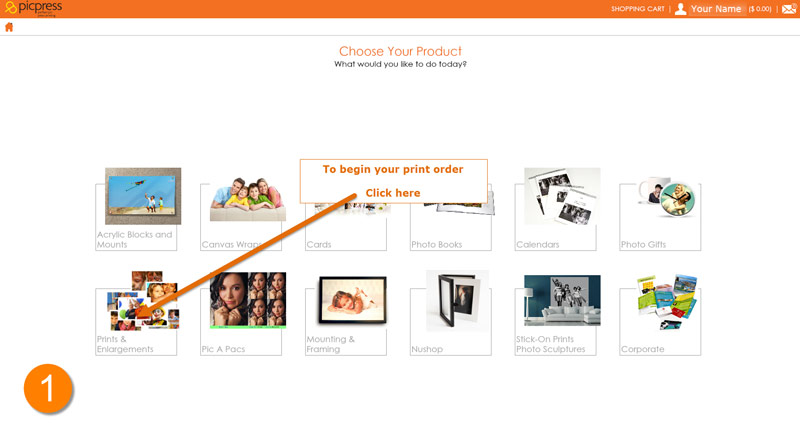
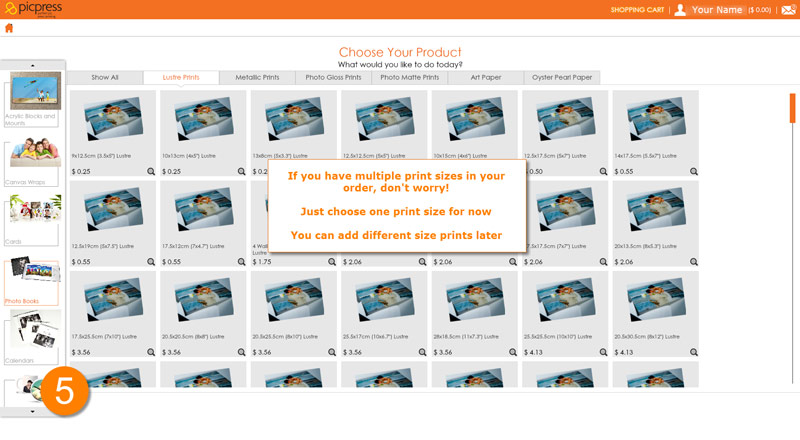
When you first open up a new project you will have options of many sizes. If you require one size only then choose that size and upload your files.
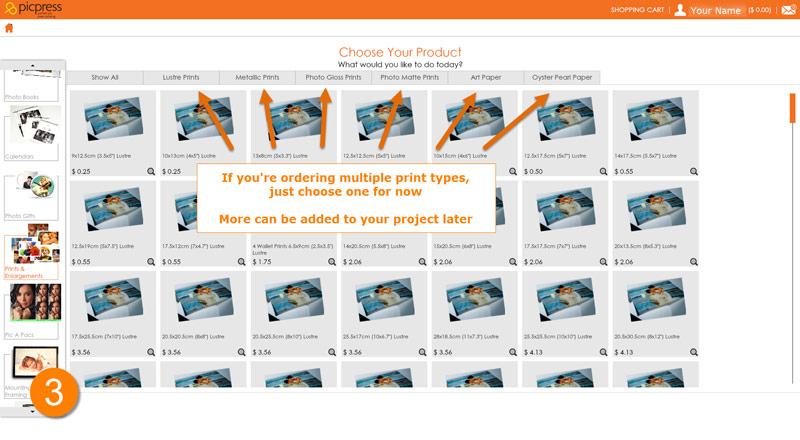
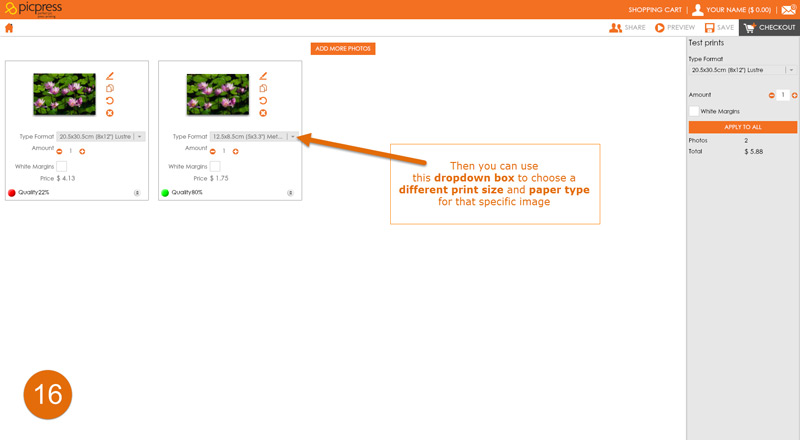
If you want multiple sizes from various files choose any size and add your files. Then use the drop down as below to choose a size for each individual file.
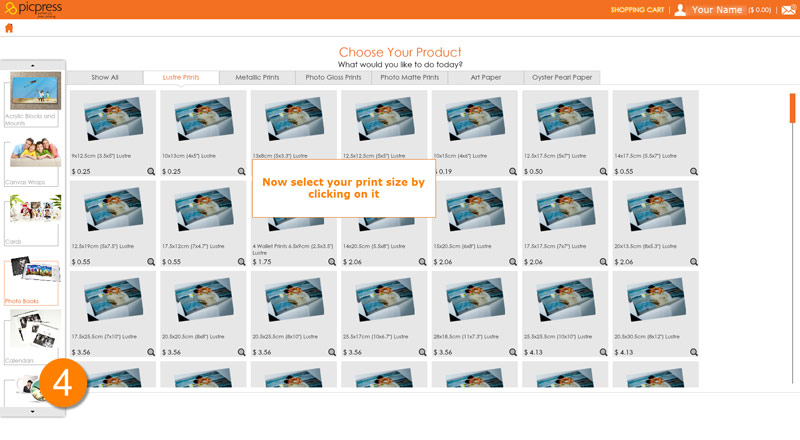
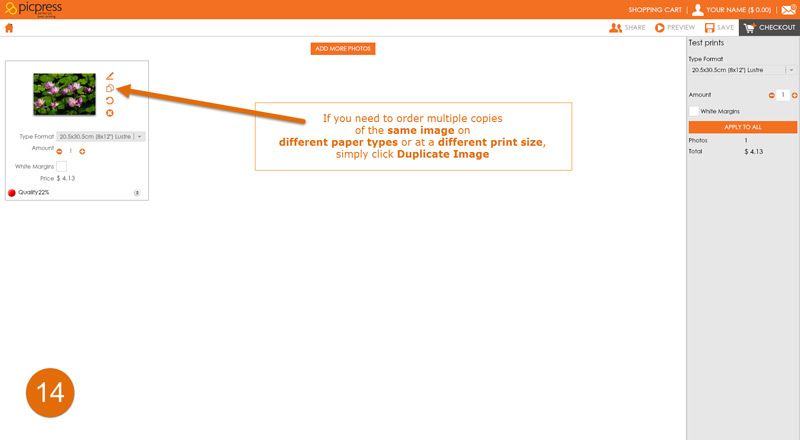
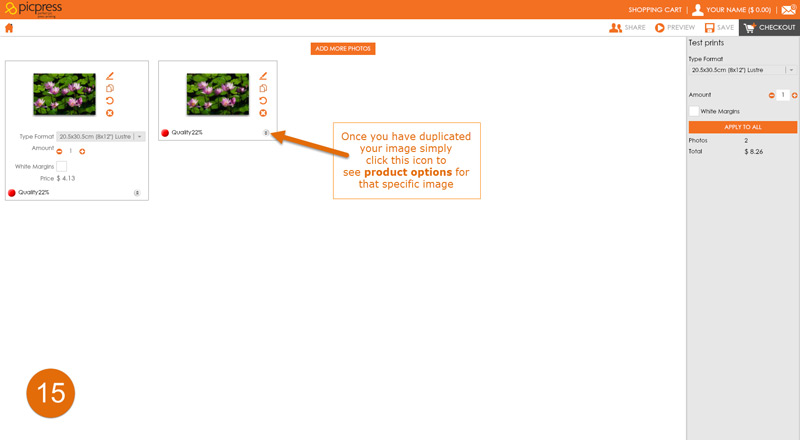
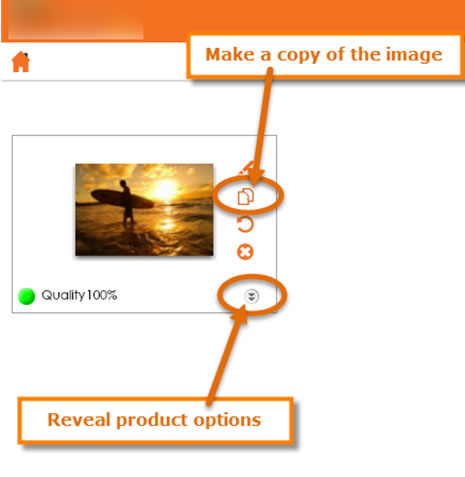
If you are ordering more that one size from the same file then the file will need to be uploaded MORE than once. To alter the size or print type, simply click the icon with two little arrows pointing down in the bottom right corner.


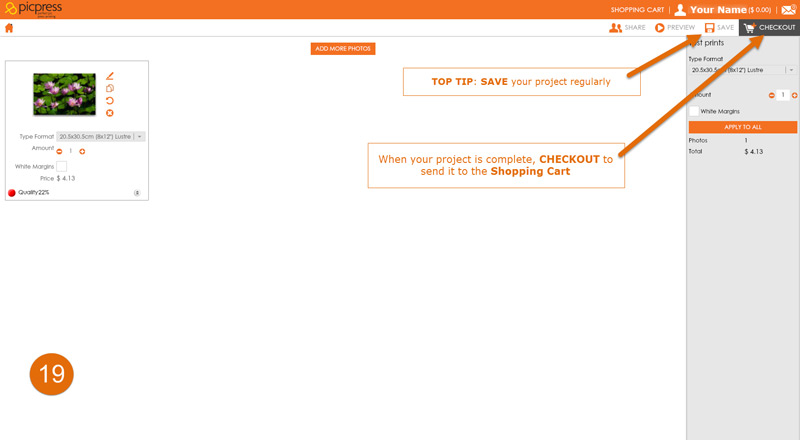


Step 1
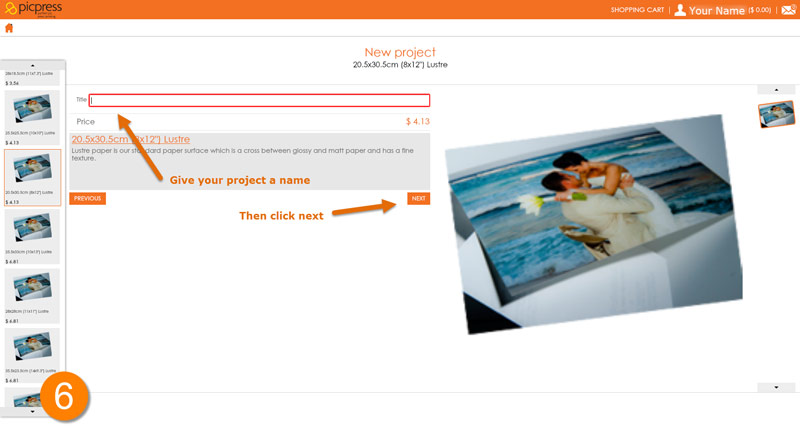
Step 2 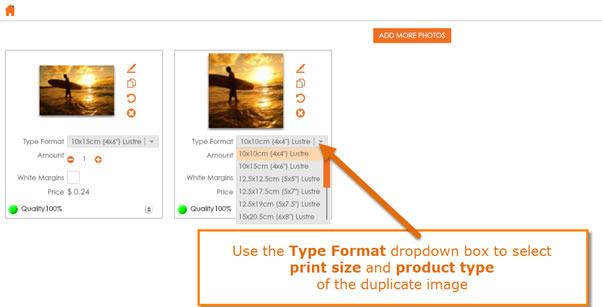
Yes you can! Watch this short video tutorial to see how easy it is to adjust the crop of your image at the chosen print size
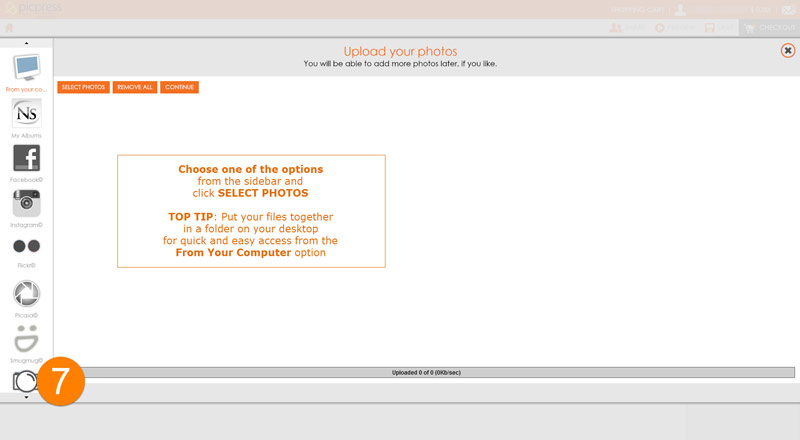
OR follow these simple steps after uploading your images:
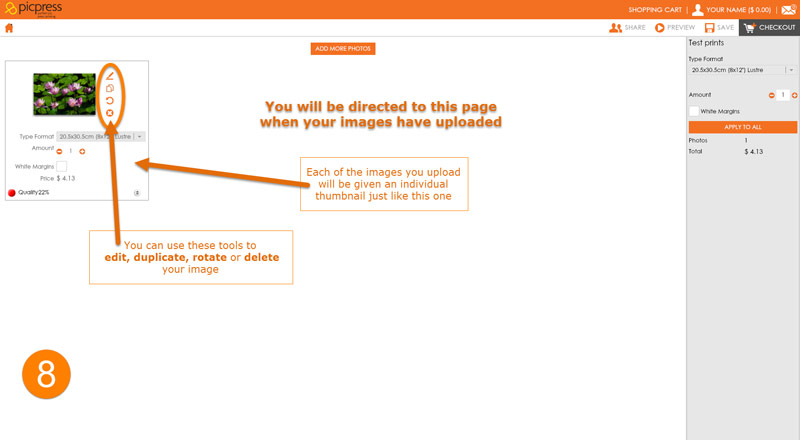
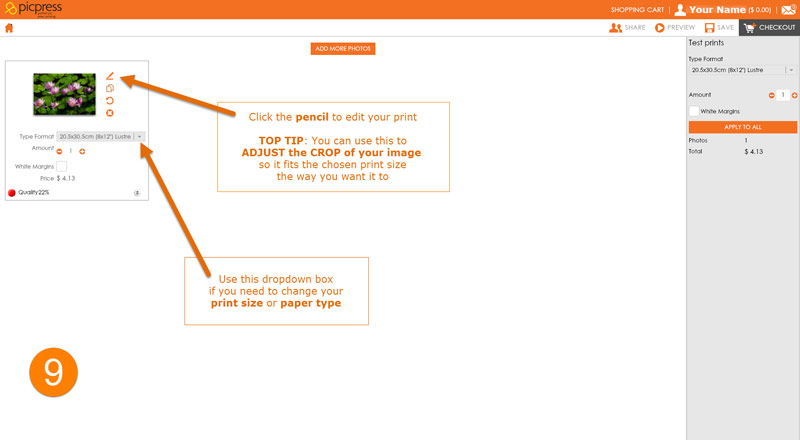
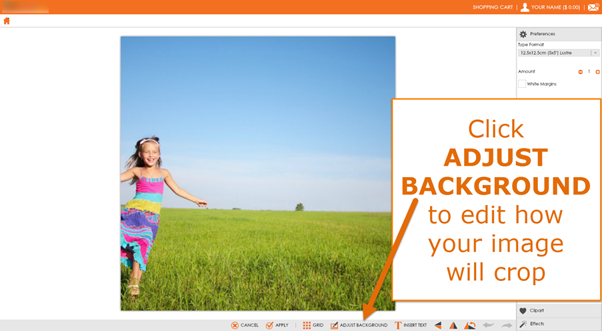
The preview you see after uploading your image shows you how the image will crop at your chosen print size.
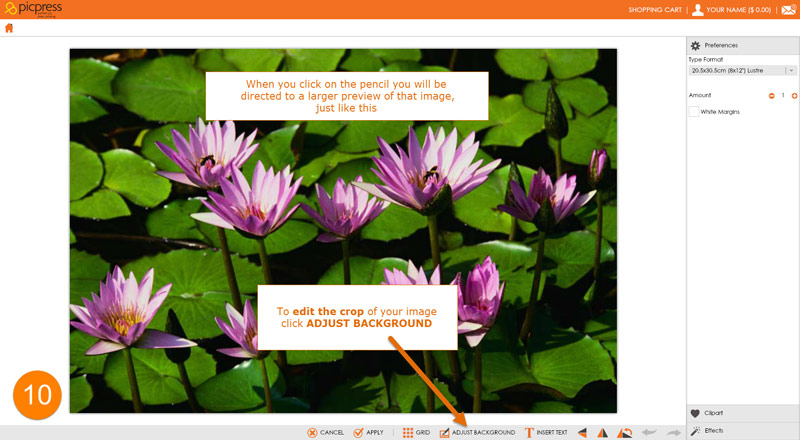
To edit the way your file is cropped, click the edit icon 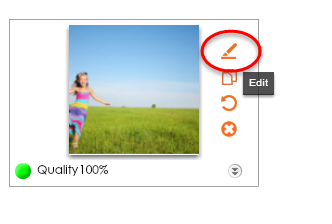
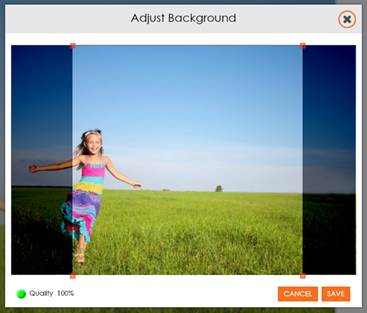
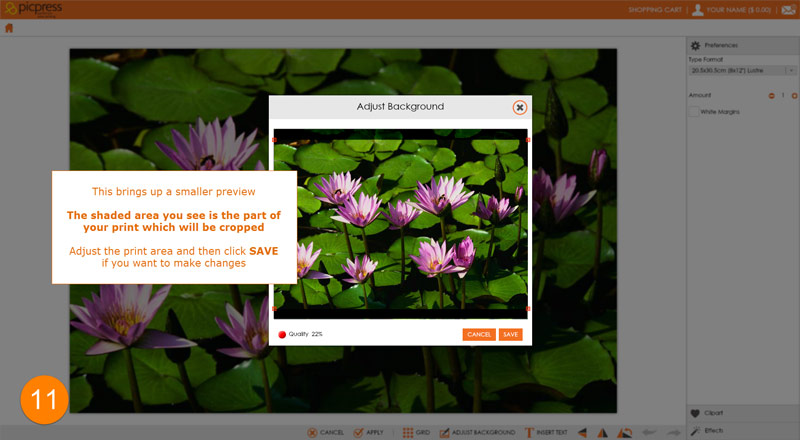
The shaded area you see is the part of your print which will be cropped. If you want to make changes, adjust the print area and then click Save to return to the large preview screen.
Once you’re happy with your edits, click APPLY.
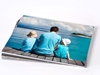
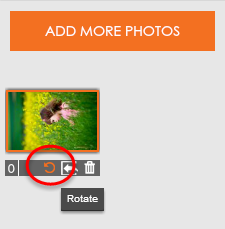
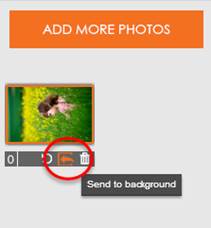
To upload your portrait image to fit the landscape preview, simply Rotate the thumbnail before you Send to background. Uploading your image sideways will not affect the outcome of your printed product in any way.
Note: If you think it isn’t obvious which way the hanger needs to be placed please leave instructions in the Comments box at the checkout.
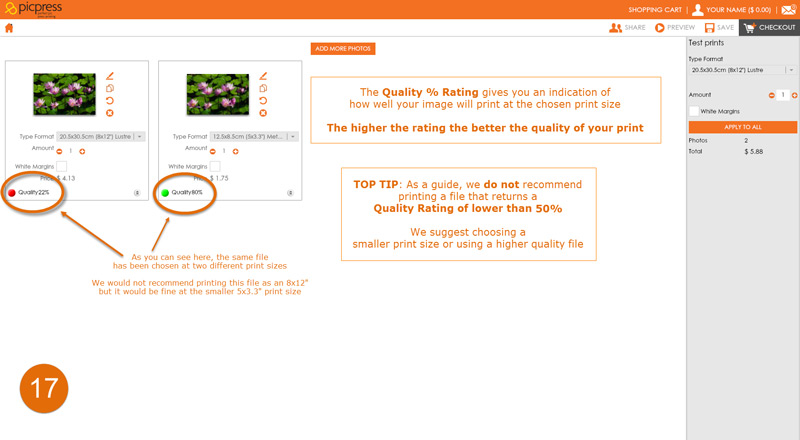
When your images upload the software is taking into consideration the quality of the file, including the file size and slow upload may also be due to your internet speed.
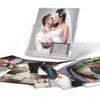
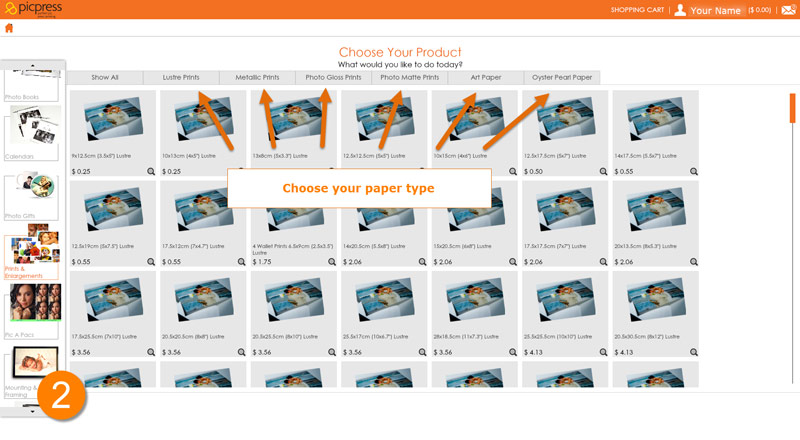
Lustre paper is a cross between a matt and glossy paper and is one of the highest quality papers within the printing industry.
Photo Gloss paper has the true look and feel of a professional glossy photographic print.
Photo Matte paper is matt laminated to give a true matt finish. Matt prints desaturate the overall look and feel of the print.
Metallic paper adds a unique flair to your photographs. A high contrast 'chrome on paper' look, metallic paper adds extreme vibrancy to colours giving your image greater details and depth.
Yes, we do offer colour correction for an additional fee. Please note that colour correction adds one extra day to service times.
Quite often the aspect ratio of the file will not match the ratio of the print size being ordered. Please ensure that you use the cropping tool within the ordering system to ensure the area of the image you wish to be printed is what you get back.
Choose your print size, select your photo then upload your file. Click on the edit (pencil) button, then click the ADJUST BACKGROUND button. From here you can move the crop tool into the position you desire, then click save.
If you wish to crop your images further use the boxes on each side to drag in and move your crop to where you desire, then click save. Please note that when you change the crop size the integrity of the file may be compromised.